
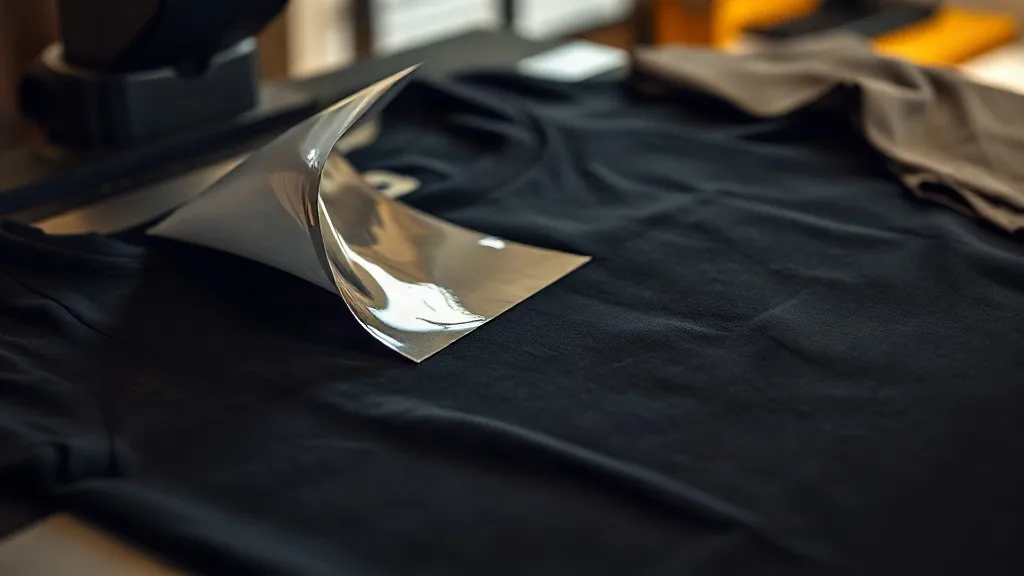
You just pulled a shirt off the press, and the print is cracked at the edge, or the corners lifted, or the whole design looks dull. The printer did its job. The film looked fine. So what went wrong? In most shops, the answer lives at the heat press. DTF transfers are forgiving in many ways, but they punish small pressing errors with big visual failures. This guide walks through seven pressing mistakes that quietly ruin prints and shows you how to correct each one without buying new equipment.
Mistake 1: Trusting the Press Display Instead of Measuring
Every heat press has a display, and almost every display drifts. A press reading 320°F might actually be running at 300°F or 340°F. That gap is enough to under-cure the adhesive or scorch the film. Before you blame the dtf film, check the press with an infrared thermometer or a surface probe. Measure the platen at three points: left, center, and right. If the readings vary by more than 10°F, you have a cold spot, and prints in that zone will fail first.
Once you know the true temperature, write it on a label and stick it to the press. Recheck monthly, and any time the press gets moved or serviced. A $20 thermometer saves more shirts than most upgrades.
Mistake 2: Pressing Too Hot to Save Time
It is tempting to crank the temperature up and shorten the dwell time. DTF transfers do not work that way. The powder adhesive needs a specific temperature window to melt and bond, usually around 300°F to 320°F depending on the film and powder. Go hotter and the film can curl, the carrier can stick, or the adhesive can degrade before it reaches the fabric.
If you are behind on orders, shorten the press time within the film manufacturer's range, not the temperature. Most films press in 10 to 15 seconds at the correct temperature. Cutting that to 6 seconds at 350°F does not speed up the job, it just creates reprints.
Mistake 3: Ignoring Pressure and Platens
Temperature gets all the attention, but pressure decides whether the adhesive actually reaches the fabric fibers. Too little pressure and the print sits on top, ready to peel after two washes. Too much pressure and the adhesive squeezes out past the design, leaving a shiny halo around the edges.
Check your press pressure with a simple test: press a scrap of transfer film onto a dark shirt and look at the impression. You want even contact across the design with no deep grooves from the platen edge. If your press has a pressure gauge, note the setting that works and keep it there. Also inspect the platen surface. A worn or dirty platen creates uneven pressure, and no amount of temperature adjustment will fix that.
Mistake 4: Skipping the Pre-Press
Moisture is the enemy of a clean bond. Cotton holds humidity, and a shirt that feels dry can still release steam under the press. That steam gets trapped between the film and the fabric, and the result is a cloudy print or a transfer that lifts at the edges.
Pre-press every garment for 5 to 7 seconds before placing the transfer. This removes moisture and flattens wrinkles. If you are printing on heavy fleece or a thick blend, give it a few extra seconds. The pre-press also lets you check for stray threads or seams that will interfere with the transfer.
Mistake 5: Peeling at the Wrong Temperature
Peel timing is where many operators guess. Some films are hot peel, some are cold peel, and some are warm peel. Using the wrong method can stretch the design, lift the corners, or leave adhesive residue on the carrier.
Read the film spec sheet and stick to it. If you switch film brands, retest the peel. A quick way to remember: hot peel films come off immediately after the press opens, cold peel films need to cool completely, and warm peel films come off when the carrier is still warm to the touch but not hot. When in doubt, test a scrap piece before running a full order.
Mistake 6: Stacking or Folding Too Soon
The print may look set when it comes off the press, but the adhesive is still cooling and settling. Stacking shirts while they are warm can cause the print to stick to the shirt above it, and folding along the design creates cracks that show up later.
Let garments cool flat for at least a minute before stacking. If you are running a high-volume batch, set up a cooling rack or a table where shirts can rest without touching each other. This one habit prevents a surprising number of customer complaints.
Mistake 7: Repressing Without a Cover Sheet
Sometimes a print needs a second press to fix a small lift or to smooth the surface. Pressing directly on the print without a cover sheet can melt the film, leave press marks, or transfer adhesive to your platen. Always use a Teflon sheet or a piece of parchment paper between the platen and the print.
If you are repressing to improve adhesion, lower the temperature slightly and use a shorter dwell time. The goal is to reactivate the adhesive, not to re-cure the whole print. A cover sheet also protects your platen from stray powder, which can build up and cause uneven pressure over time.
Building a Press Log That Actually Helps
The best shops keep a simple log next to the press. For each film type, write down the temperature, pressure setting, dwell time, peel method, and any notes about the fabric. When a print fails, you have a baseline to compare against. This log also helps when you train a new operator or switch to a new dtf transfers near me supplier.
You do not need a fancy system. A notebook and a marker work fine. The point is to stop guessing and start repeating what works. After a few weeks, you will see patterns, like certain blends needing a slightly longer press or a specific film preferring a warm peel.
Quick Checklist Before Every Run
- Press temperature verified with an external probe
- Pressure checked with a test press
- Garment pre-pressed to remove moisture
- Film and powder matched to the fabric
- Peel method confirmed for the film type
- Cover sheet ready for any repress
- Cooling area clear and flat
Run through this list at the start of each shift. It takes two minutes and catches the mistakes that cost the most time.
Frequently Asked Questions
Why does my DTF print peel after the first wash?
Peeling usually points to insufficient pressure or a cold spot on the platen. Check that the press is reaching the correct temperature across the entire platen and that the pressure is even. Also confirm that the garment was pre-pressed and that the peel was done at the right temperature for the film.
Can I press DTF transfers on a shirt that already has a print?
You can, but you need to protect the existing print. Use a cover sheet and lower the temperature slightly. Avoid pressing directly over a heat-sensitive print, and never stack a new transfer on top of an old one without testing adhesion first.
How long should I wait before washing a DTF-printed shirt?
Wait at least 24 hours after pressing before washing. The adhesive continues to cure as it cools, and giving it a full day reduces the risk of premature failure. Wash inside out in cold water and tumble dry low.
What causes a shiny outline around my DTF print?
A shiny outline is excess adhesive squeezing out from under the film. Reduce pressure slightly and check that the film is not oversized for the design. A cover sheet during the press can also help distribute pressure more evenly.
Do I need different settings for different fabric colors?
Fabric color itself does not change the press settings, but fabric type does. Dark garments often require a slightly longer press to ensure the white ink layer bonds fully. Always test a scrap piece when switching to a new fabric or color.